When I first sat down to complete a ford f150 leveling spacer installation in my own garage, I was admittedly nervous about compromising my truck’s factory ride comfort, ruining my suspension geometry, or getting stuck halfway through with rounded bolts.
I knew that nose-down factory rake was driving me crazy, but I did not want to sacrifice smooth highway commuting or rack up thousands in dealer repair bills.
Here at Bryan’s Garage, our team of experienced mechanics has perfected this exact job over hundreds of installations, and we are excited to walk you step-by-step through a smooth, safe, and budget-friendly upgrade that keeps your truck riding like factory original.
In This Article
- Step-by-Step Installation Guide: Complete DIY process for front strut spacer installation on your F-150.
- Ride Quality Dynamics: How leveling spacers alter factory suspension geometry, spring preload, and shock absorption.
- Spacers vs. Coilovers vs. Lifts: Direct comparison table on cost, ride comfort, and tire clearance options.
- Essential Post-Installation Steps: Correcting wheel alignment, headlight aim, and recalibrating electronic stability sensors.
- Common Pitfalls & Troubleshooting: Protecting upper control arms, CV axles, and steering tie rods from premature wear.
Your F-150 has a secret slot that starts the truck when your key fob dies.
And 8 other things Ford never told you.
Dead fob fix · Remote window trick · 7.2 kW generator hiding in your bed · Tailgate ladder · and 5 more.
▶ Read Now — Show Me Everything
bryansgarage.com · Bryan Mark · 2026
How to Perform a Ford F150 Leveling Spacer Installation: Step-by-Step Guide
Installing front strut spacers is one of the most rewarding weekend projects for any Ford truck owner.
It eliminates the nose-down stance engineered by the factory for heavy payload hauling.
It also clears the way for larger, more aggressive off-road tires.
Prerequisites & Required Tools
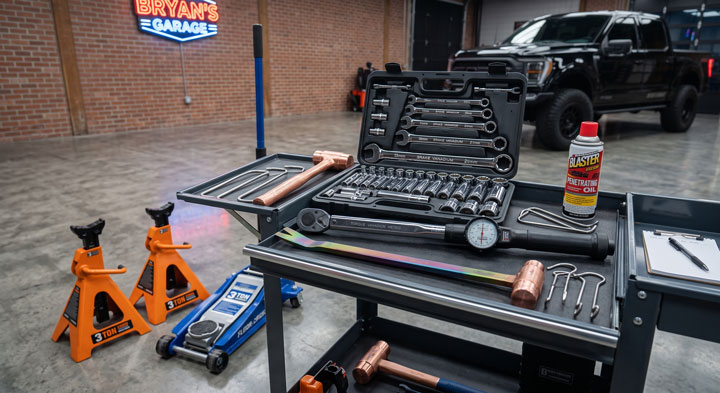
Before lifting your vehicle off the ground, gather all essential tools and equipment.
Working on front coilover assemblies requires sturdy, high-capacity equipment to ensure complete safety.
You will need heavy-duty jack stands rated for at least three tons and a reliable hydraulic floor jack.
Prepare metric socket and wrench sets, specifically 15mm, 18mm, 21mm, and 24mm sizes.
A torque wrench capable of reaching 150 foot-pounds is mandatory for securing high-stress suspension fasteners.
You will also need a pry bar, a copper hammer or brass drift punch, wire hooks to support brake calipers, and penetrating oil.
Step 1: Vehicle Prep, Safety Precautions, & Measuring Factory Stance
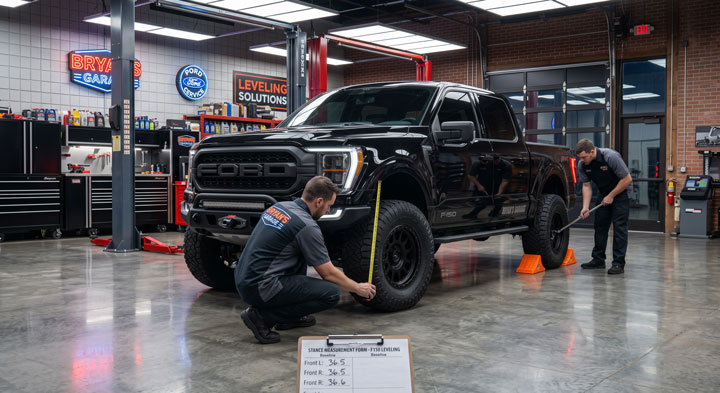
Park your Ford F-150 on a flat, level concrete surface and engage the parking brake firmly.
Measure the distance from the center of each wheel hub straight up to the bottom edge of the fender flare.
Document these baseline numbers on paper for both front and rear wheels.These initial measurements allow you to verify your exact height gain once the spacer is secured.
Place wheel chocks securely behind the rear tires to keep the truck from rolling during service.
Loosen the front lug nuts slightly using a breaker bar while the tires remain firmly on the ground.
Step 2: Elevating the Truck & Removing Front Wheels
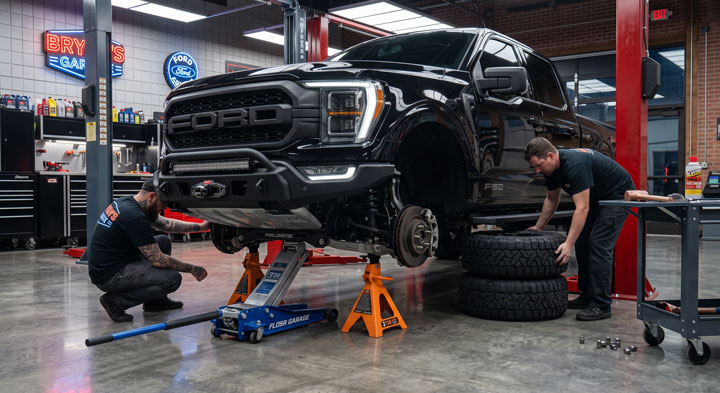
Position your heavy-duty hydraulic floor jack beneath the front crossmember jacking point.
Raise the front of the truck until both front wheels clear the ground with ample working clearance.
Position sturdy jack stands beneath the frame rails directly behind the front suspension mounts.
Lower the vehicle carefully onto the jack stands until the full weight rests securely upon them.
Finish unthreading the front lug nuts and lift both front wheel assemblies away from the vehicle.
Place the removed wheels flat underneath the mid-frame rail as an additional safety barrier.
Step 3: Disconnecting Sway Bar Links, Tie Rods, & Brackets
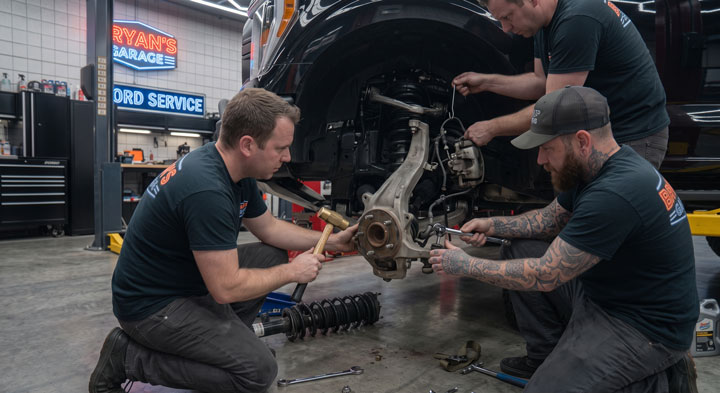
Spray penetrating liquid onto all exposed suspension threads to ease fastener removal.
Locate the outer tie rod end attached to the front steering knuckle.Remove the tie rod retaining nut using your 21mm socket or wrench.
Gently strike the side of the knuckle casting with a brass hammer to break the tapered joint free.
Never hit the threaded stud directly, as mushrooming the threads will destroy the tie rod end.
Disconnect the front sway bar end link from the lower control arm or sway bar body.
Unbolt the small brake line bracket and wheel speed sensor wire clip from the knuckle structure.
This critical step prevents tight wiring or rubber brake hoses from stretching when the control arm drops lower.
Step 4: Unbolting Upper Ball Joint & Lower Control Arm Mounts
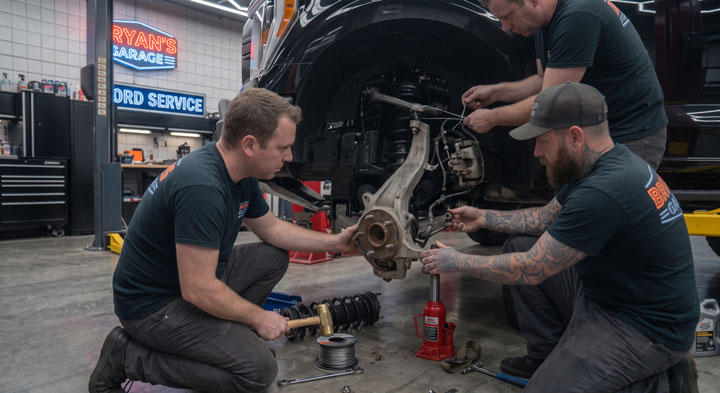
Position an auxiliary jack under the lower control arm to support its weight safely.
Loosen the upper ball joint nut until only a few threads remain engaged on the stud.
Tap the upper knuckle housing lightly with your copper hammer to release the ball joint taper.
Once the taper separates, hold the lower arm securely and remove the upper nut completely.
Allow the steering knuckle to tilt gently outward while avoiding tension on the inner CV axle boot.
Use a heavy-duty shop wire to tie the knuckle to the frame so it cannot pull out the axle.
If you are tackling an f150 leveling kit installation, keeping these CV joints supported prevents expensive internal joint binding.
Step 5: Extracting the Factory Front Strut Assembly
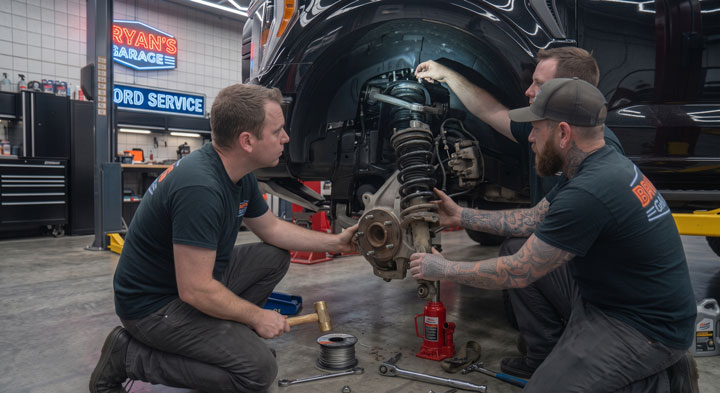
Locate the top three upper strut tower nuts inside the engine compartment or wheel well top mount.
Use an 18mm ratcheting wrench to loosen and remove two of the top nuts entirely.
Leave the final top nut threaded on by three turns to stop the heavy strut assembly from dropping unassisted.
Move beneath the lower control arm to address the bottom strut mounting attachments.
Depending on your F-150 model year, remove either the lower bar pin bolts or bottom stud nuts.
Carefully lower the auxiliary jack underneath the lower control arm to create vertical space.
Reach up, unscrew the final top strut nut by hand, and lower the strut out from the wheel arch.
Step 6: Mounting Leveling Spacers & Reinstalling Strut Assemblies
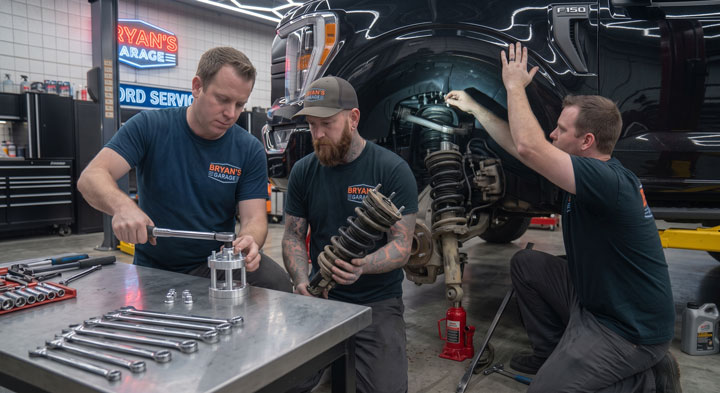
Inspect the top hat of your factory strut tower for debris, rust, or loose factory studs.
Position your top-mount billet aluminum or composite leveling spacer onto the factory upper strut hat.
When you install leveling spacers f150 components, thread the provided adapter hardware firmly onto the original studs.
Torque these upper adapter fasteners to the spacer manufacturer’s precise specification, typically 35 to 45 foot-pounds.
Lift the modified strut assembly back into the top frame mount pocket on the vehicle.
Start the new upper mounting nuts by hand to hold the strut assembly safely in place.
Guide the lower strut studs or bar pin into the lower control arm mounting points.
Use a pry bar to push down on the lower arm gently if additional clearance is required.
Step 7: Final Hardware Torquing & Suspension Reassembly
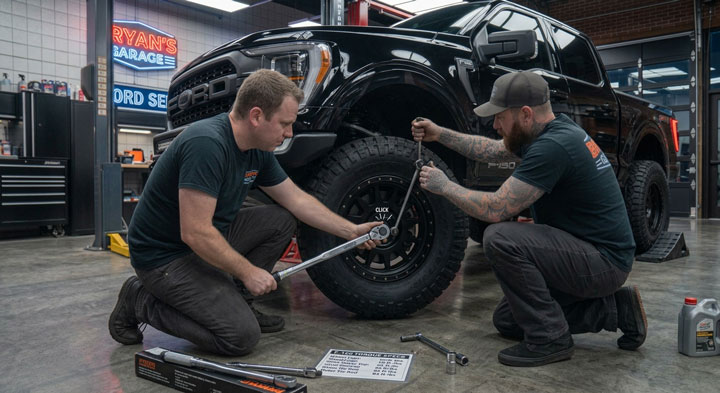
Re-engage the lower control arm and raise it with your floor jack until the suspension supports vehicle weight.
Guide the upper ball joint stud back into the top hole of the steering knuckle.
Thread the upper ball joint nut onto the stud and torque it firmly to factory specifications.
Reinstall the outer tie rod end and torque its retaining nut to 85 foot-pounds.
Reattach the sway bar end link and tighten the hardware securely.
Mount the brake line brackets and wheel speed sensor wiring clips back into their original chassis locations.
Tighten the three upper strut tower nuts to 45 foot-pounds using your calibrated torque wrench.
Repeat the entire physical disassembly and spacer installation process on the opposite side of the truck.
Reinstall both front wheels, tighten lug nuts hand-tight, lower the truck to the ground, and torque wheel lug nuts to 150 foot-pounds.
Completing a modern front leveling spacer install f150 project at home saves hundreds of dollars in shop labor fees.
Our team at Bryan’s Garage strongly recommends re-checking every single bolt torque after your first 100 miles of driving.
Understanding F150 Suspension Geometry and Ride Quality Dynamics
Many truck owners worry that adding strut spacers will transform their smooth modern F-150 into a harsh, bouncing ride.
To understand how leveling spacers impact ride quality, you must look closely at independent front suspension design.
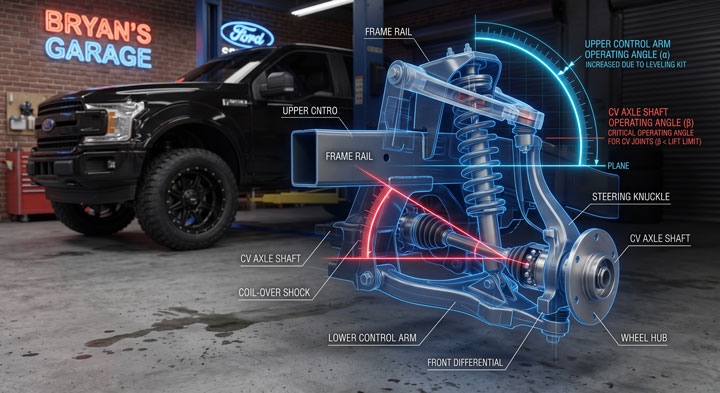
The Ford F-150 uses a double-wishbone front suspension system featuring upper and lower control arms with a coilover strut.
When you install a top-mount leveling spacer, you do not alter the coil spring rate or shock valving inside the strut.
The spring compressed height remains identical to factory original settings during straight-line cruising.
Because the spring stiffness is unchanged, small bump compliance and highway absorption stay remarkably close to stock performance.
However, adding height changes the operational resting angles of your upper control arms and CV axle shafts.
Pushing the lower control arm down pushes the wheel downward relative to the frame chassis.
This steepens the angle of the upper ball joint and the outer tie rod ends.
On spacer kits measuring 2.5 inches or higher, this angle increase can reduce downward suspension droop travel.
When the truck crosses large speed bumps or drops off road ledges, the shock strut may reach full extension faster.
This sudden halt in travel is what produces a firm or harsh thud sound when driving over harsh terrain.
Furthermore, front suspension geometry operates on a motion ratio leverage principle.
A strut spacer measuring 1.25 inches thick physically creates approximately 2.0 inches of actual front lift height at the wheel hub.
This difference exists because the strut is mounted further inboard along the lower control arm swing arm.
Understanding this mathematical motion ratio prevents owners from ordering spacers that are physically too thick for their target lift.