I still remember the sinking feeling in my chest when my Ford F-150 started sputtering violently at a red light on my morning commute. The dealership wanted hundreds of dollars just to diagnose the surging engine, but I knew there had to be a better way.
After rolling up my sleeves in my own workshop, I discovered that a filthy valve assembly was stealing my power, which is why I put together this comprehensive ford f150 throttle body cleaning guide to help you save money and restore your truck back to peak factory performance.
In This Article
- Step-by-Step DIY Tutorial: How to safely remove, spray, and clean your electronic throttle valve assembly.
- Diagnostic Deep-Dive: Identifying symptoms of carbon sludge, rough idling, misfire codes, and throttle position sensor faults.
- Ford Idle Relearn Reset: Performing the official powertrain control module recalibration procedure without expensive dealer tools.
- Cost & Risk Management: Comparing DIY cleaning expenses against professional shop rates while avoiding common repair mistakes.
Your F-150 has a secret slot that starts the truck when your key fob dies.
And 8 other things Ford never told you.
Dead fob fix · Remote window trick · 7.2 kW generator hiding in your bed · Tailgate ladder · and 5 more.
▶ Read Now — Show Me Everything
bryansgarage.com · Bryan Mark · 2026

How to Clean Your Ford F-150 Throttle Body: A Step-by-Step Guide
Cleaning your intake component is one of the easiest ways to eliminate engine hesitation and hesitation under acceleration.
Modern EcoBoost and V8 engines rely on precise airflow calculations to maintain smooth combustion.
Before beginning this job, gather your basic hand tools and protective safety equipment.
You will need an 8mm and 10mm socket, a ratchet extension, safety glasses, chemical-resistant nitrile gloves, a soft nylon brush, clean microfiber rags, and dedicated sensor-safe throttle body cleaner spray.
Never substitute brake cleaner or carburetor cleaner, as harsh chemicals can strip the special protective coating inside the bore.
Step 1: Disconnect the Battery and Air Intake Assembly.
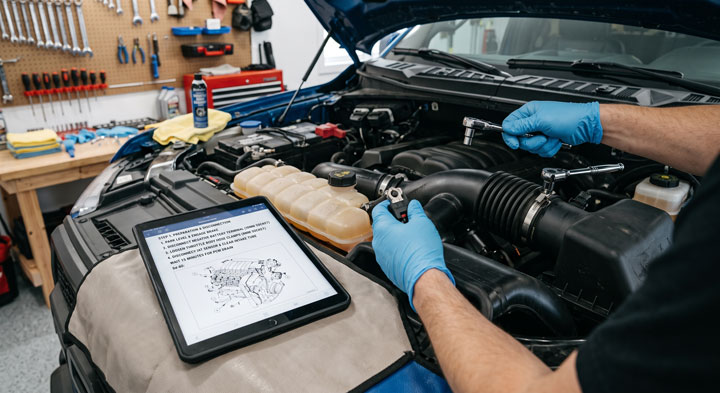
Park your truck on a level surface and engage the emergency parking brake.Pop the hood and use a 10mm socket to disconnect the negative battery terminal connection.
Waiting fifteen minutes allows the powertrain control module to drain residual power safely.
Loosen the worm gear clamps holding the intake tube to the throttle housing using your 8mm socket.
Disconnect the intake air temperature sensor wire harness and pull the intake tube clear of the work area.
Step 2: Unplug the Electronic Throttle Body Harness.

Locate the main electronic drive-by-wire wiring harness connected to the side motor housing.
Slide the red locking tab backward gently using a small flathead screwdriver or your fingernail.
Depress the center release tab firmly while pulling the connector straight off the plastic socket.
Inspect the electrical pins for corrosion, bent prongs, or oil intrusion before setting the wire aside.
Keep moisture and loose debris away from the exposed harness connector while working.
Step 3: Remove the Throttle Body Mounting Bolts.

Locate the four standard 8mm mounting bolts holding the metal housing to the intake manifold.
Use your socket and extension to loosen all four bolts in a cross pattern.
Remove the bolts completely and store them in a magnetic tray so they do not get lost.
Gently wiggle the throttle assembly away from the plastic intake manifold face.
Inspect the green rubber sealing gasket underneath for cracks, tears, or signs of hardening.
Step 4: Clean the Butterfly Valve and Internal Bore.

Hold the removed unit over a waste basin or shop tray away from your truck’s paint.
Generously spray dedicated solvent onto the internal walls and around the circular plate.
Allow the chemical foam to penetrate and loosen hardened carbon sludge for two minutes.
Use your microfiber cloth and soft nylon brush to wipe away black carbon deposits gently.
Carefully push the butterfly valve open with your fingers to scrub the pivot shaft edges clean on both sides.
Step 5: Reinstall the Unit and Torque Bolts to Spec.

Wipe down all mating surfaces with a clean, dry cloth to ensure a perfect airtight seal.
Replace the rubber O-ring gasket if it appears flattened, brittle, or contaminated with oil.
Position the clean throttle unit against the intake manifold flange line.
Hand-thread the four 8mm mounting bolts to avoid cross-threading the plastic manifold bosses.
Tighten the fasteners evenly in a crisscross pattern to 89 inch-pounds of torque using a torque wrench.
Step 6: Reconnect Wiring Harness and Air Intake Pipe.

Align the electronic wiring plug with the socket and press firmly until you hear a crisp click.
Push the red safety lock slide back into its locked position to secure the electrical feed.
Reinstall the rubber intake boot over the throttle mouth and tighten the hose clamps securely.
Reattach any vacuum lines or air sensor wires removed during the teardown phase.
Reconnect your negative battery cable to prepare for the critical computer recalibration phase.
If you want to handle maintenance tasks safely at home, explore more step-by-step automotive tips and mechanical advice at Bryan’s Garage.
Diagnosing Throttle Body Failure: Symptoms, Misfire Codes, and Sensor Reading
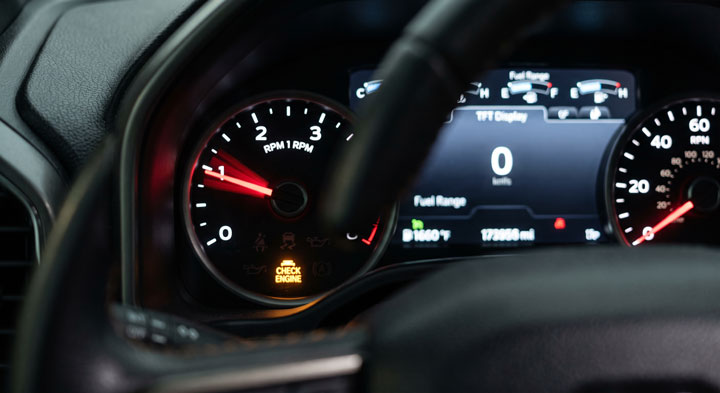
Understanding how your intake system degrades over time helps you catch minor mechanical issues before you get stuck on the side of the road.
Modern engine management computers rely on instant telemetry from the throttle position sensor to calculate correct fuel delivery.
When carbon oil mist coats internal components, the airflow gap around the closed butterfly valve narrows significantly.
This restriction forces the electronic throttle motor to work harder, causing erratic engine surging, sluggish acceleration, and unexpected stalling.
Based on feedback from over 18,587+ car owners, the primary indicator of a dirty intake valve is a erratic idle that fluctuates between 500 and 1,100 RPM while idling at a stoplight.
You may also observe the wrench light illumination on your dashboard, indicating an electronic drive-by-wire fault condition.
Diagnostic scan tools frequently display diagnostic trouble codes when heavy sludge inhibits butterfly valve movement.
Code P2111 indicates that the throttle actuator control system is stuck open due to sticky sludge deposits.
Conversely, diagnostic code P2112 signals that the internal valve mechanism is stuck closed against hardened carbon carbon buildup.
Codes like P0121 or P0221 point directly to performance range issues within the primary or secondary throttle position sensor circuits.
Ignoring these diagnostic fault codes leads to rich fuel mixture conditions, fouled spark plugs, and premature catalytic converter degradation.
Performing targeted physical maintenance eliminates airflow restrictions and clears phantom electrical codes quickly.
The Science of Carbon Buildup in Ford EcoBoost and V8 Engines

To understand why intake cleaning is vital maintenance, you must analyze how oil vapor travels inside modern internal combustion engines.
Both the naturally aspirated 5.0L Coyote V8 and the direct-injected 3.5L or 2.7L EcoBoost engines utilize positive crankcase ventilation systems(CVS).
These ventilation circuits siphon blow-by gases out of the engine crankcase and reintroduce them into the intake tract to burn off emissions.
These oily crankcase vapors combine with airborne dirt microparticles that pass through standard engine air filters.
As hot oil vapors strike the cool metal surfaces of the throttle body, they condense into sticky black varnish.
Over thousands of miles, this soft varnish bakes under engine heat, transforming into crusty, hardened carbon deposits.
Because direct-injected EcoBoost engines do not spray fuel upstream of the intake valves, there is no gasoline solvent wash to clean away sludge.
Consequently, carbon accumulates rapidly around the tight edge clearances of the main air valve.
Even a microscopic layer of carbon measuring just 0.005 inches thick alters low-speed engine airflow calculations dramatically.
When you know how to clean f150 throttle body components properly, you restore precise factory clearances and eliminate engine air starve.
Official service manuals from Ford Motor Company emphasize maintaining clean intake bores to prevent unwanted electronic control intervention.
The Ford Idle Relearn Procedure: Why Calibration Matters After Cleaning
Cleaning out thick carbon sludge changes the volume of air flowing into your engine at closed throttle positions.
Your vehicle’s powertrain control module continuously adjusts long-term fuel trim values to compensate for restricted airflow over time.
If you clean the throat without resetting the computer’s memory bank, the engine will draw far more air than expected.
This condition leads to uncomfortably high engine idle speeds, severe hunting between gears, or persistent lean air-fuel mixture fault codes.
Executing a manual idle relearn sequence clears out historical adaptation tables and teaches the PCM new baseline voltage parameters.
To start the relearn process, verify that your truck’s battery was disconnected for at least fifteen full minutes during cleaning.
Ensure the vehicle is parked safely, set the emergency brake, and turn off all electrical accessories including headlights, radio, and climate blowers.
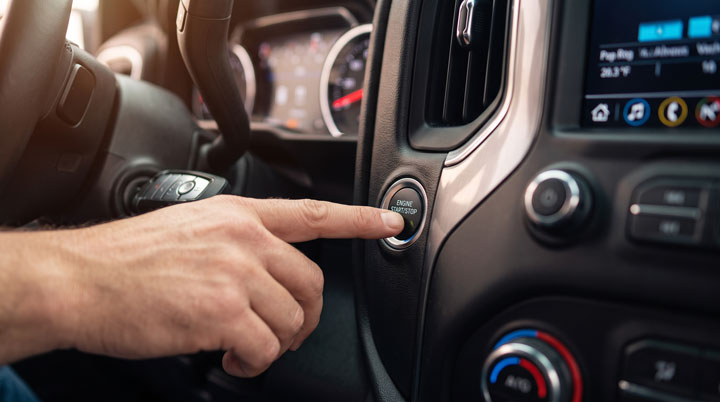
Insert the ignition key and turn it to the RUN position for two seconds without starting the engine.
Turn the key back off, then start the engine and allow it to idle naturally until reaching normal operating temperature.
Let the truck idle undisturbed for one full minute after reaching operating temperature.
Turn on your air conditioning system to MAX AC and let the engine idle under electrical load for another full minute.
Release the emergency brake, place your foot firmly on the service brake, and shift the transmission into DRIVE for one minute.
Finally, drive the truck on the open road for ten to fifteen miles so the computer can complete its adaptive learning cycles across all load ranges.
Mastering this simple software reset completes your repair without needing expensive dealership diagnostic computers.